Thursday, January 3, 2019

We now return to our regularly scheduled program.

For this part I'm going to cover the knee joints, beware that for this part you're going to need some very advanced tools, and some very specific techniques, for this part of the figure you'll need to "Eyeball" it.

That's right the guaranteed way to make sure things kinda-sorta match.... When you squint.

So let's begin.

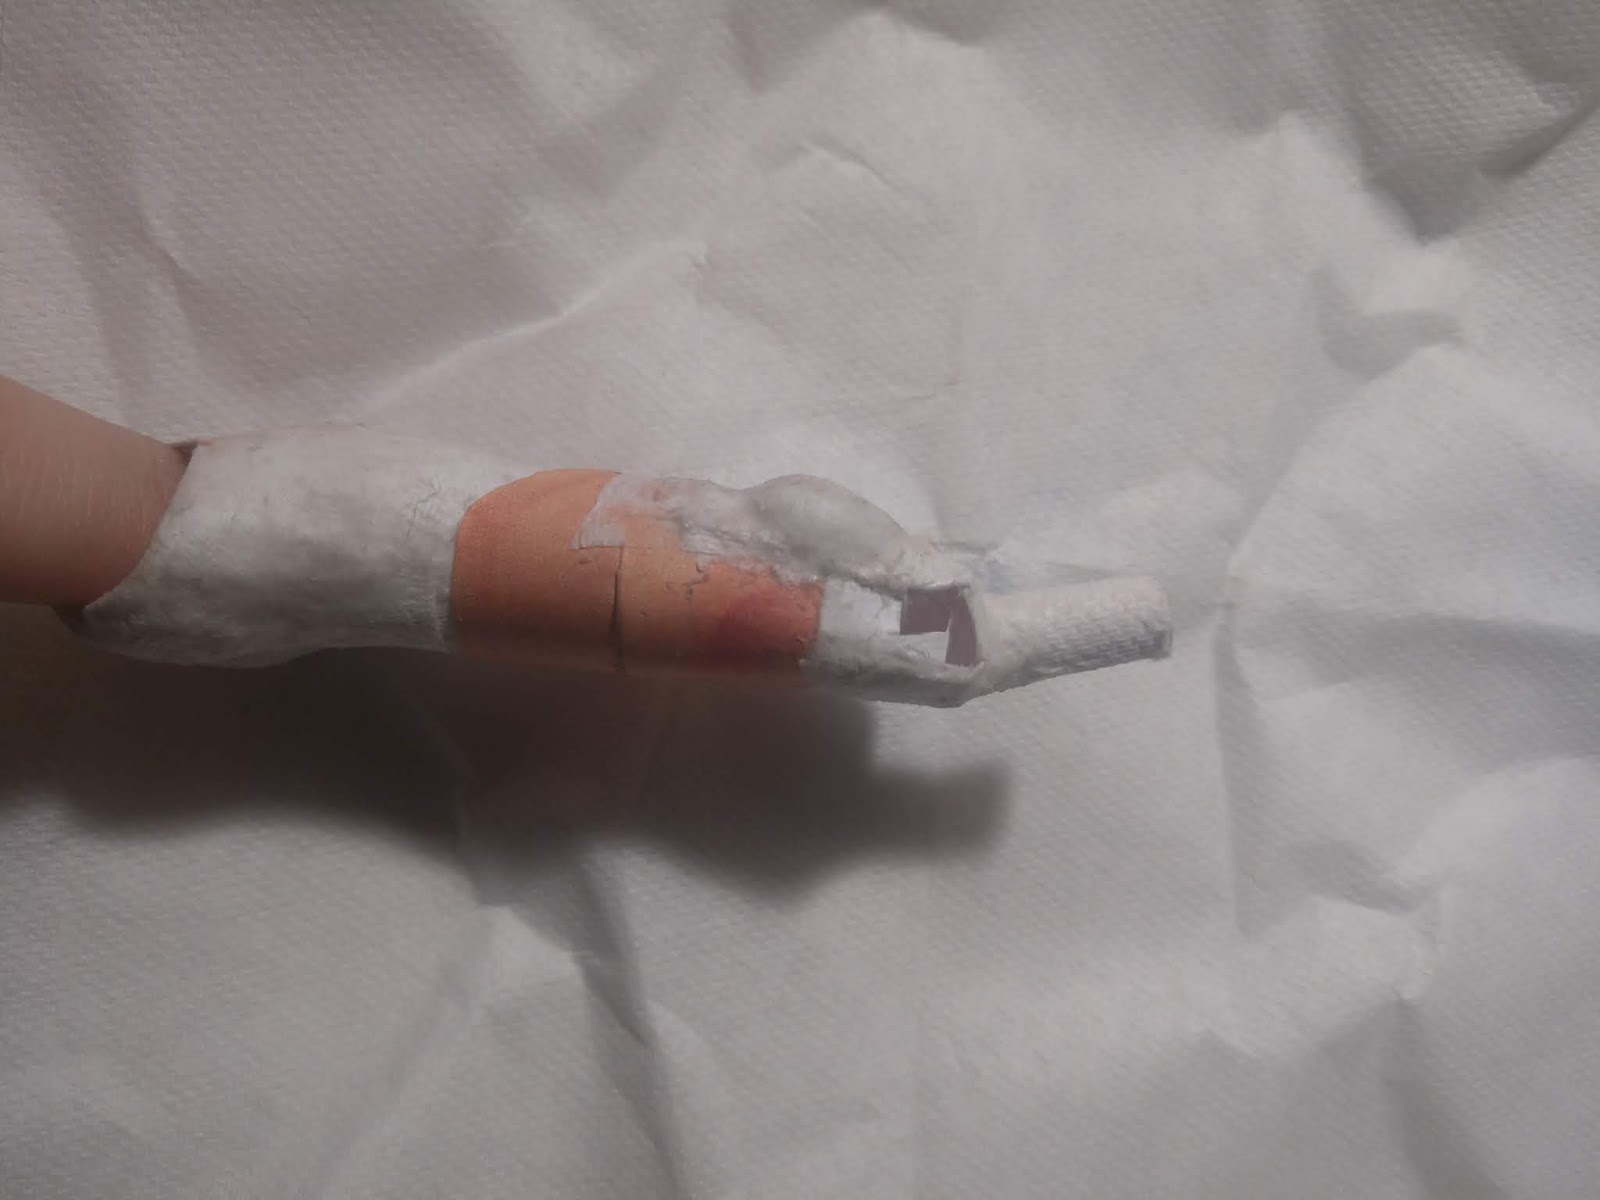
First, you're going to need the thigh that we just made... Or more specifically, you're going to need the paper tube that we rolled up and put inside the thigh.


This tube provides support for the leg exterior and also acts as a point of insertion and rotation for the knee joints.... And it minimizes the amount of work you'll be doing on the next steps a little.

Next you need to draw out the individual pieces for the joint. I'm going with a double joint because I like my action figures to be able to do action poses.


As you can see, one looks like a jelly Bean and the other one looks like the head of a blow dryer. Now cut them out and trace them... After you poke a hole through those nice little black dots.
Like this.
Then this.

Now, from here you have a few options. The jelly Bean piece is the center part of the joint. You can either trace them all individually, scan it into Photoshop and copy/paste, or you can trace it on to a large enough scrap, fold it and cut it that way. 

I went with the fold and cut. It'd take time to boot up the computer, scan it, and copy paste. That's too much time wasted. Gimme my pencil and my scissors, and don't forget that needle tool.
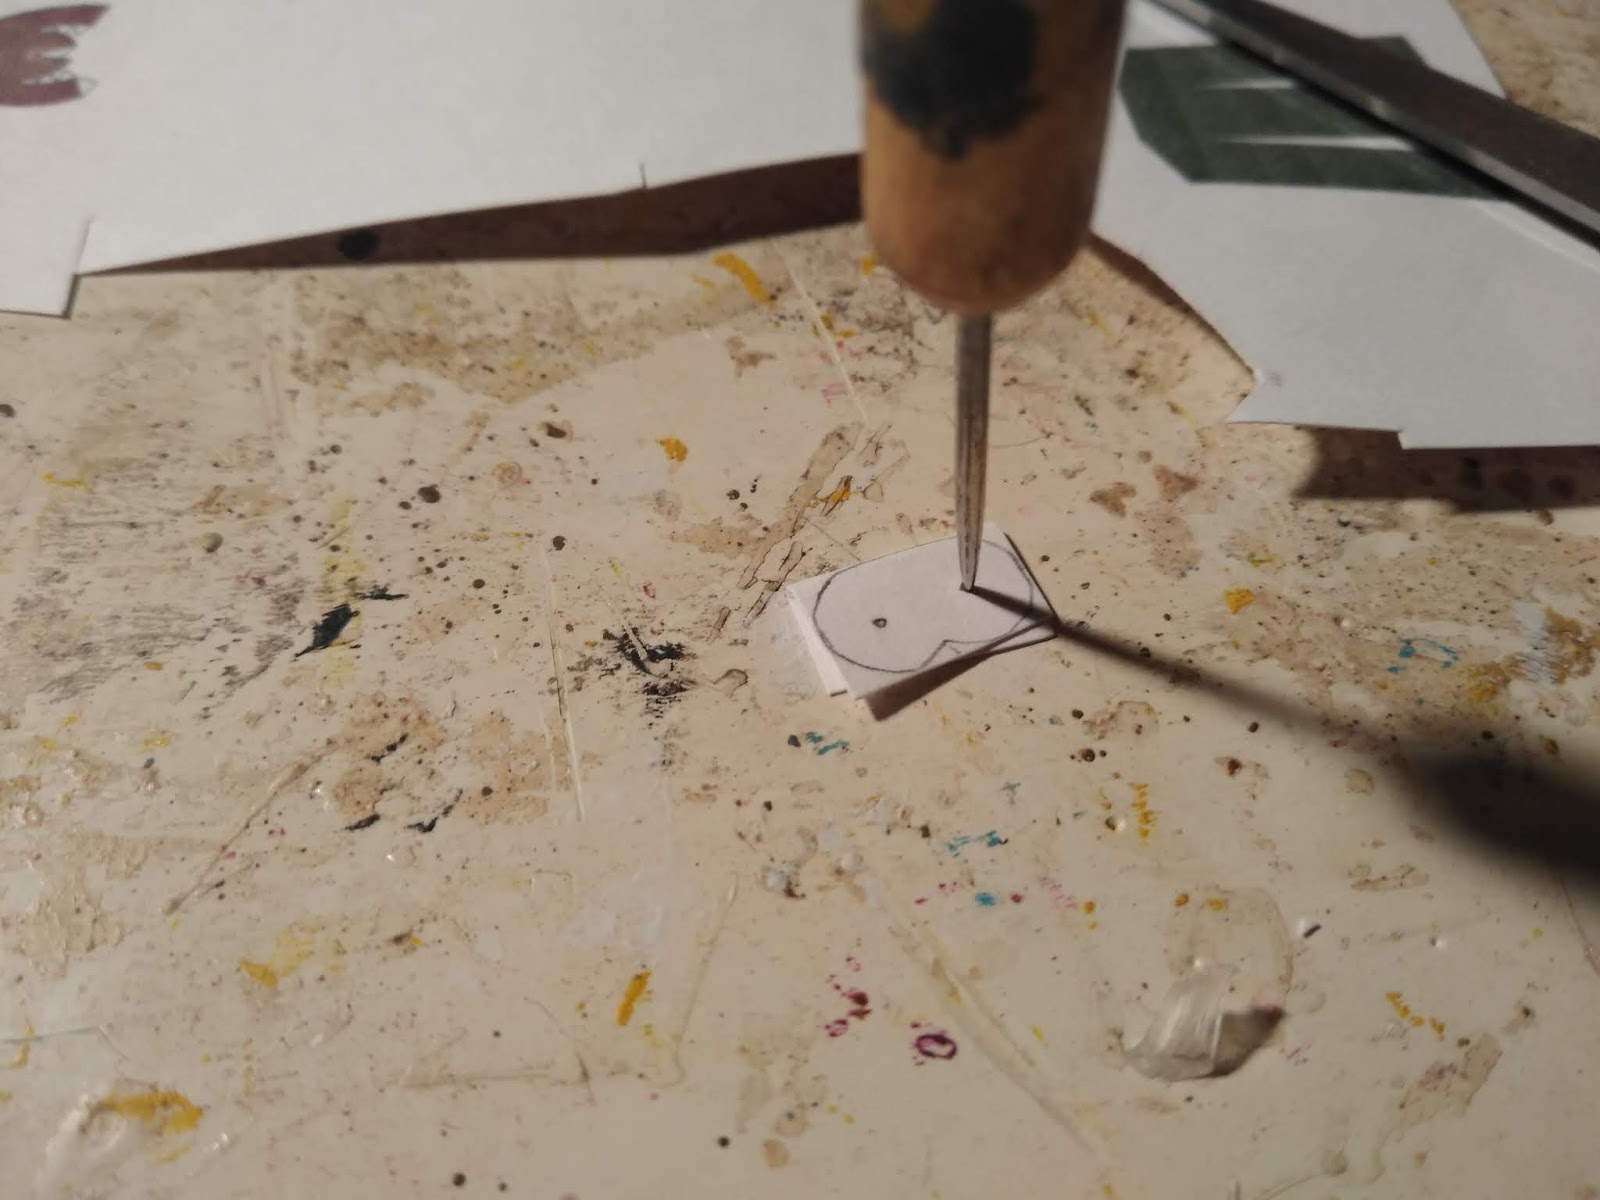
(Don't forget to poke the holes)

Once you've done this an ungodly amount of times and have a satisfactory number of parts, get the glue.


My method for the joints has always been 3-6-3, meaning; the outside parts, the dryer heads, are half the number of the jelly Bean piece. I tried making them even all the way through ONCE and it ended with the joint splitting. 

So this is how it works, look at the pipe in the thigh and in the calve, if you have one... Which you should. This is where the eyeballing comes in because you need to figure out how many layers will fit. In this case the "measurements" are 3 outside-6 inside-3 outside.

So take the parts and glue them with their matches. I like to test them once they dry to see how they fit.

Like this.

Also, you're not done.


In order for the finished joint to fit together and function properly, you need 6 little wedges (or however many layers you have for the jelly Bean, the wedge has to be equal to it). The wedge goes at the bottom of the dryer heads and helps support them, because it won't work otherwise... I've tried.  


Oh, and you're going to need.... About 21 more dryer heads. It takes six to make ONE HALF of ONE knee joint. So once that's done, and you've cut and glued together the wedges, glue the wedge to one half of the dryer head and let it dry. And repeat with the other piece.

It should look like this. Now repeat this three more times for the lower leg, and the other leg. You only need two of the jelly beans in total. 

This is what one joint setup should look like. Parts in total: 12 dryer heads, 12 wedges, and 6 jelly beans. At least for this particular figure, it always changes depending on scale of the figure and the thickness of the knee. 
Here it is all smooshed together for a test fit. Also notice, the dryer heads are too big at the point of connection. I had to trim the down so they didn't hit each other on a rotation.. eyeballing, sometimes it works, sometimes it almost works.

All the parts for leg two......

And we're going to move onto how to connect them. I've considered many things. Railroad screws like those used on model trains, wire, paperclips, etc. 

But there's a problem with using metal. Metal rusts. And when metal rusts, it tends to rub off on it's fellow surfaces. Now I personally would prefer that my figures not develop a rust orange tan. So what do we use? The amazing, non-staining, never rusting: 

Toothpick. 


Yep, this little bad boy is my pin of choice on a paper action figure joint. 

Personally I don't recommend dollar store toothpicks, as one container has a varying range of quality and stability. Go big on this and buy your toothpicks somewhere fancy, like Walmart.

(I also like to take a ten minute break to build a cat. It's very soothing)


Back to business, you want the toothpick to pass through twelve (or so) layers of paper, this is hard and it takes a little bit of finessing sometimes. But remember that hole in the piece? Take your needle tool and push it GENTLY through again. It'll take some finessing for that too, and if the toothpick still won't fit take and x-acto blade and thin it out CAREFULLY (if you are under the age of 18, ask a parent for help, and don't sue me). You don't have to carve it, just give it a little shave. 

If it works, trim the toothpick to fit (wear protective goggles, toothpick trimmings can fly) and glue around the outside where you cut it.

It should look something like this.


And function like this.

Thank you all for sticking around and waiting for the next post so patiently. I really appreciate it, and I'm sorry it took so long to get it up here. Next post might be on ankles.... Or feet... Maybe calves..... You'll see when I figure it out. 

Happy (late) New Year everyone!

Tuesday, December 25, 2018

No pictures this post.... Well, no real updates either. I mean, aside from the fact that I GRADUATED!!! But nothing really big or anything.

So I do plan on posting now that I have more free time to actually work on my personal project, and I'm not having an emotional breakdown because the indigo paint didn't mix right with the orange to create an almost black color (no, seriously, this has happened). I'm gonna post, and I'm gonna finish my projects.

To close out this very short update, I'd like to say, I haven't forgotten or abandoned the pub and I'm going to keep posting. Secondly, Merry Christmas, Happy Holidays, and Happy New Year (just encase I forget).

Thursday, November 8, 2018

Today, I want to talk about miniatures. I'm thinking about making this a weekly/bi-weekly bit where I let everyone know that I'm not dead, by posting about crafty people that inspire me.

Classes have been keeping me from my paper-y love, and I do need to keep on this site.

For anyone that doesn't know, it's almost impossible to find accessories for action figures in the 1/12th scale. I have a fairly large collection of 6" action figures, but barely any accessories, save for the ones they came with.

This is a problem.

....Or it was until I got on YouTube.

Myfroggystuff. Probably one of the most resourceful/crafty YouTubers I've seen so far. She uses common items that you can find around your house to make some pretty darn good looking accessories.

Here's what I did from the tutorials I watched of hers....

ALCOHOL!

Yes, I made little wine bottles for my action figures (thus the reason my blog is the Papertoy Pub, and not something classy, or professional). I found the labels online and shrunk them as needed.

Her miniatures are more.... Child friendly, and can easily be modified..... As you can see. 


She also does tutorials on miniature foods. And I don't mean just pie or cake, she does food tutorials. And a lot of them.

But, my figures aren't concerned about a healthy diet, especially when there's pumpkin pie to be had.

For those looking for more adventurous items, she's made telescopes, tents, and bows and arrows. 

All in all, if you're looking for a quick prop or something for your kid (or kid relative), or something to do with your kid on the cheap. I'd recommend you check her out.

I was not paid to promote, I just like to promote people that do things well and could possibly be an inspiration or aide to someone else.

Next time, paper figure stuff, I promise.


Saturday, October 20, 2018

PART 2

And so it begins.

It took a little longer to post than I expected, but here it is the promised part 2.

What does it cover? The torso.

Let us begin


First of course, you want to build the frame, in this case I left a little extra on the top, lengthened the neck, and added an additional tube of paper to the hips, to act as the stomach, hide the joint that will eventually be there, and to add a little more height.

Also, you can see the head from the previous post. I did both of them at about the same time, it just took a lot of extra layers to fill her out.


I like to begin this part, by putting down one long piece, like you see in the above pictures. This acts as a placement for her breasts, and also let me know in this case that they were saggy because I didn't account for the added height. Oops. 

Also at this point, glue a thin base layer around the waist cone. It helps secure it, and blend it.

Please enjoy a step by step on how I build paper breasts.

Glue, glue is very good. Use it at your discretion. I like a little bit more for this part of the process. It bleeds out the sides of the napkin and blends the edges to the surrounding material.... Probably because it's pulp at that point. But it works.


Simply repeat the process. Over and over and over........


Now, about this point I'm pretty happy with the basic profile for the chest. It's small and can be built on, if I so choose.

Now, if the chest is good enough for now, it's time to move on down. Personally, I like to balance the hips against the chest, so I do the hips.... And the butt, after the chest.


As I hope you can see, there's a slight division, I try to make sure that it's always there. Every so often I add a piece of paper in between.


As you can see below, I've added more on the lower portion of the butt, I'll blend it into the back in a bit. This is usually how it goes.


I'd also like to point out that the hips have now been blended to the tube.


I like to turn the figure as I go so I can decide if the silhouette looks good.


Now, same thing with the head and the chest, you repeat the process until you're happy.


This is about where I was happy.

So that's "sculpting" the head and torso. I hope you enjoyed it, sorry it took so long to post them.

If anyone has any QUESTIONS as to how I do things, I'd be happy to answer them as best as I can.

I would also like to take a moment to appreciate the versatility of paper. Below is an image of all the different characters I started working on using the same base model. I love paper.


Until next post, Fare well.

Saturday, October 13, 2018

PART 1

As promised, here is the first part of the post I said I'd do yesterday when I spammed all of you readers with wonderful paper lips (Say what you will, they're gorgeous).

So since I had food poisoning last week, I thought I'd capitalize on the new time slot in my day, and the fact that I felt like I was going to die, by working on my Goddess of Death character. I should add that I have, like, five or six other characters to work on........ But too late now.


As most of you readers may know (and for those who don't), this is generally how a paper model looks when you start out. It's flat. You could also say, paper thin. As you can see, there are little white tabs surrounding the face, those allow you to connect the parts and have them hold together. If you've never built a paper model, the tabs can be very effective, if you don't drown them in glue. Possibly speaking from experience on that one.


Next of course, you cut it out and build it. It's pretty straight forward, like a connect the dots, minus the numbers and the dots. I dunno, they just make sense to me. So now we have a head, lets sculpt.

I don't know if you can see it, but I added little pencil lines where I want the features. Normally I don't bother, but this character has a very unique set of features and I wanted to make sure that I captured them. Also, her face needed to be longer, hence her... Beard? Anyway, you usually want to cut that off. Just saying.


First things first, I like to start with the nose . It's a fairly noticeable feature and it tends to stick out farther than the forehead, at least in most cases. Once the nose is placed, using a piece of your choice of top notch, high quality, sculpting material; in this case bathroom paper towel, the kind that takes paint off of walls (I'm trying to cut back on coffee). Move on to the "cheekbones"

Depending on the character, you might choose to build out the Zygomatic bone, doing that for a few layers can give it some really good strong definition. This character doesn't need definition. So that being said, I just took tiny squares and placed them where I wanted them.

Also, when you're doing this, DO NOT CUT THE SCULPTING MATERIAL. Tear it gently and slowly. The reason being, it blends a lot easier with the base, and other layers. Any abnormalities with the tear can be sorted out with careful manuvering of the material with a fine tool, dental tools work swimmingly. Cut paper has a hard edge. The only time its okay to cut it, is on the first layer it'll get covered and the harse edges hidden. So again, DO NOT CUT THE SCULPTING MATERIAL.


Now, we move on to the long part, there isn't too much to say up ahead since it just comes down to layers, lots of layers. So enjoy my pictures.


Now, as you can tell, at least I hope you can, I haven't started on the lips yet. I haven't started them yet because I don't want to mess them up. Lips are tedious and unique, and require special attention. So I've been focusing on building up everything else. When you do, you need to vary the shape/size of pieces you put down... Otherwise you could end up with box face.


Now we start on the lips. I'll be honest, I didn't get a lot of pictures for this step... Mostly because I was focused and I didn't want my phone covered in glue. But it's the same process, lay down thin strips of paper and shape them. I highly recommend dental tools for this step since it is very delicate, and tedious.


I hope everyone enjoyed this post, part two will be on the torso and all the joys of layers. This head was pretty fun, one of my new favorites too.